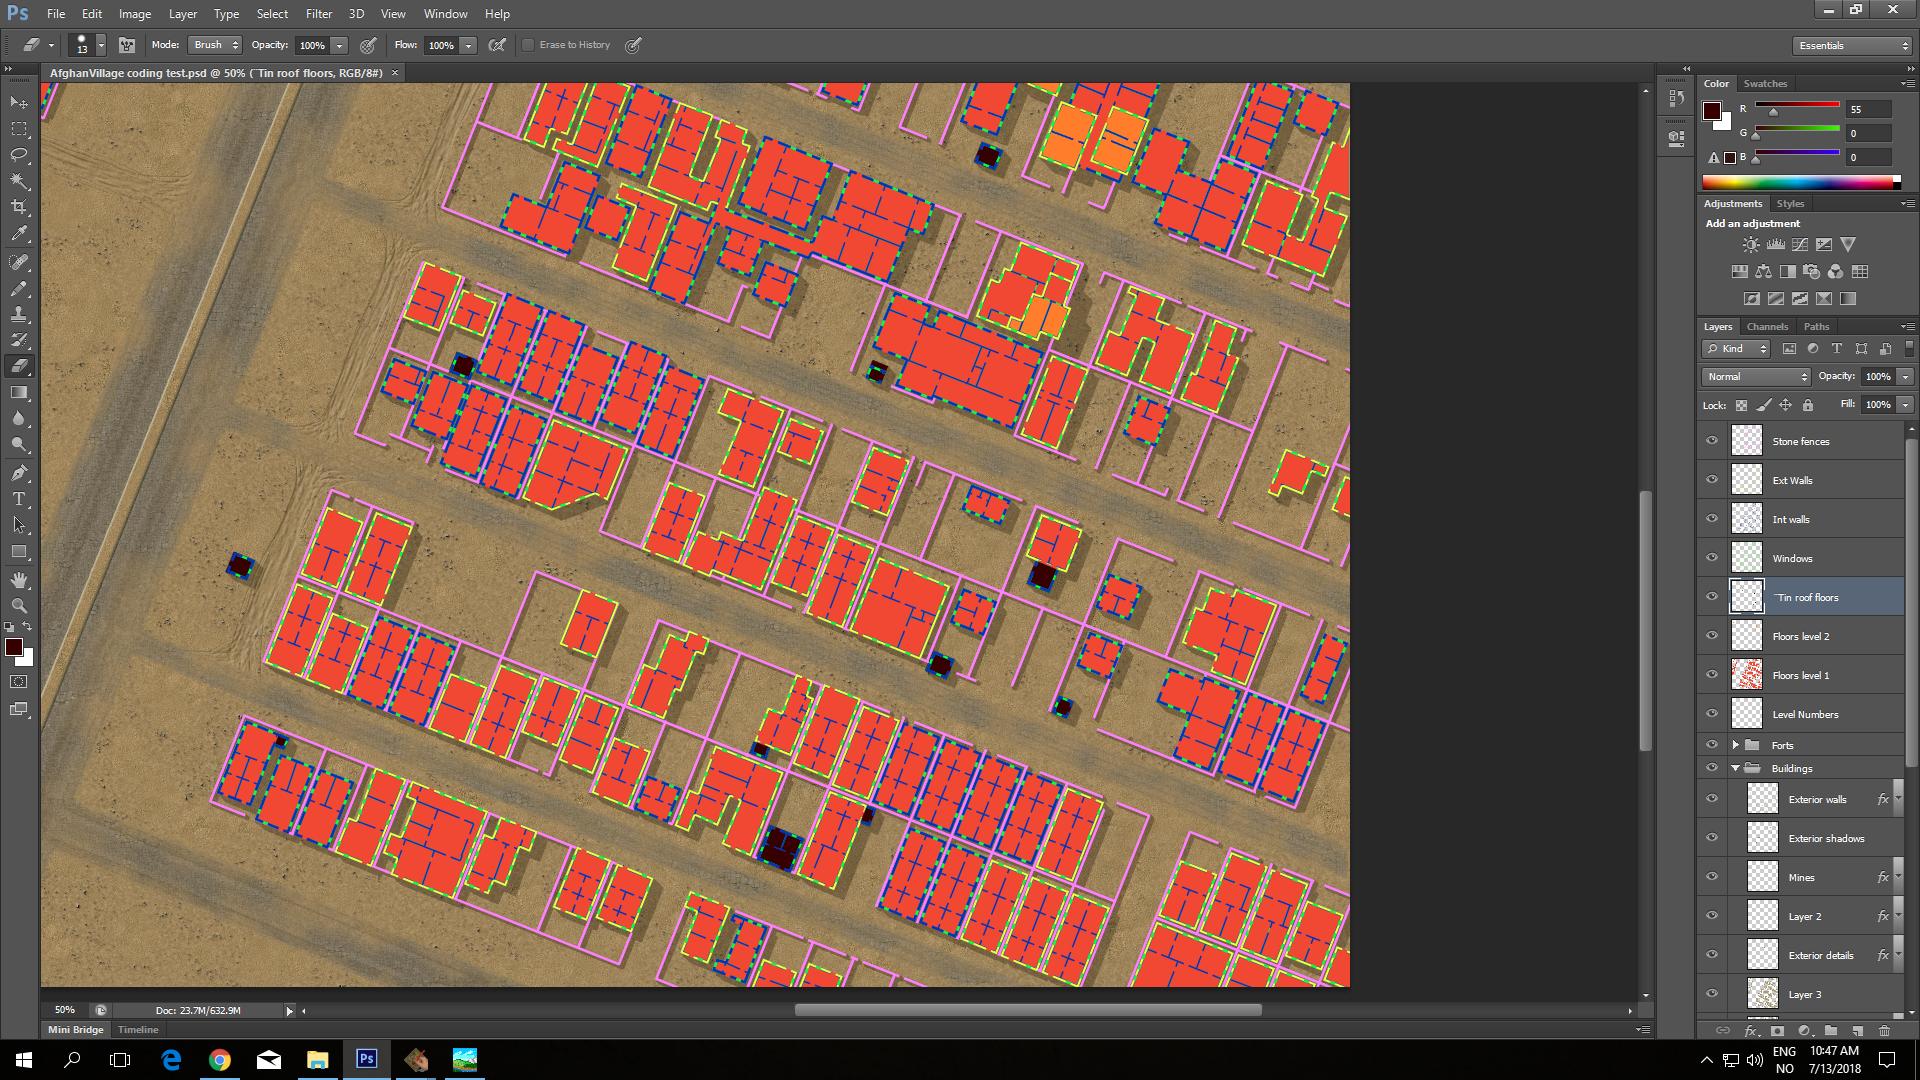
| Colour indexing main elements in paint programme.jpg | ||
| Description: |
|
|
| Filesize: | 380.07 KB | |
| Viewed: | 7512 Time(s) | |
 |
||
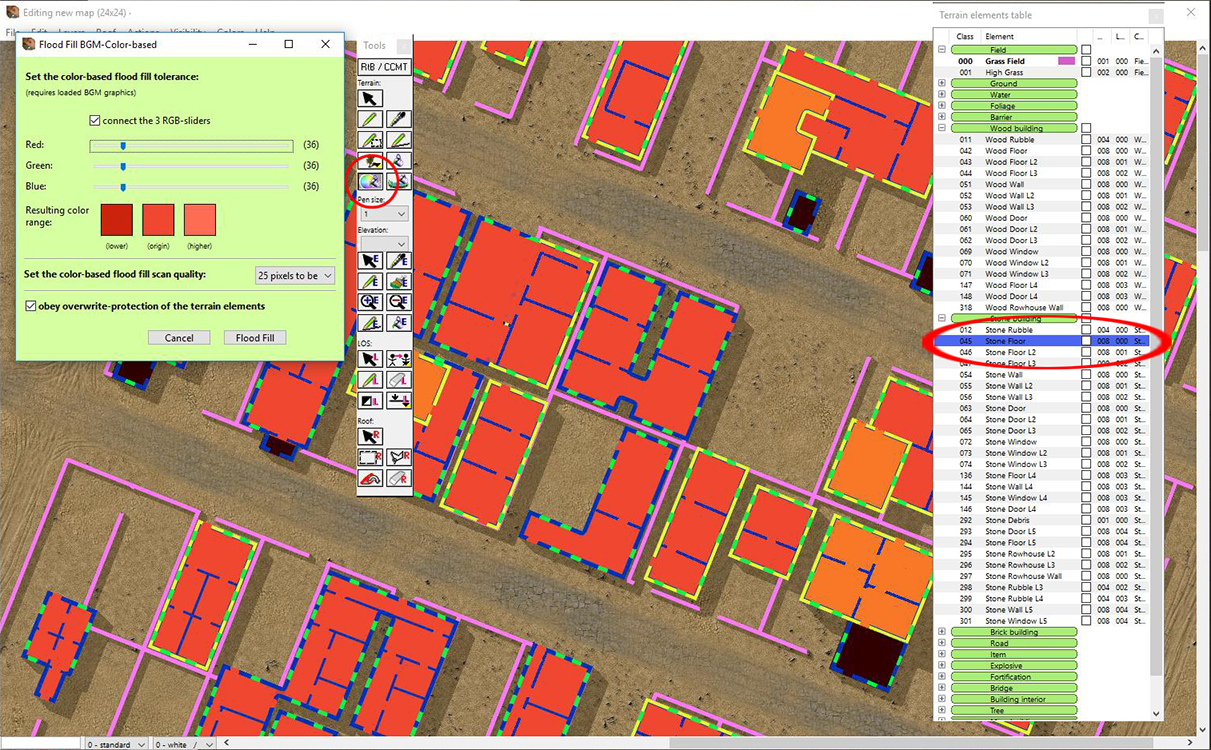
| 2 Color based flood fill tool.png | ||
| Description: |
|
|
| Filesize: | 1.6 MB | |
| Viewed: | 7505 Time(s) | |
 |
||
| Use border fill tool to create exterior wall elements.png | ||
| Description: |
|
|
| Filesize: | 397.77 KB | |
| Viewed: | 7500 Time(s) | |
 |
||
| Pen tool to manually code windows and doors.PNG | ||
| Description: |
|
|
| Filesize: | 501.36 KB | |
| Viewed: | 7495 Time(s) | |
 |
||
| ScnelleMeyer wrote (View Post): |
|
There are a few errors in the coding on this picture because it was done as a quick mock-up. |
| ScnelleMeyer wrote (View Post): |
|
Load the map up in 5CC, under the Actions menu you will find the means to reduce the map. Save your reduced map with a new name to avoid overwriting.
Not in front of my PC at the moment so this is all I can explain right now. |
| ScnelleMeyer wrote (View Post): |
| You do not have to re-code anything if all you want to do is reduce the map size. With Mafis 5CC program cutting down maps is easy peasy. |
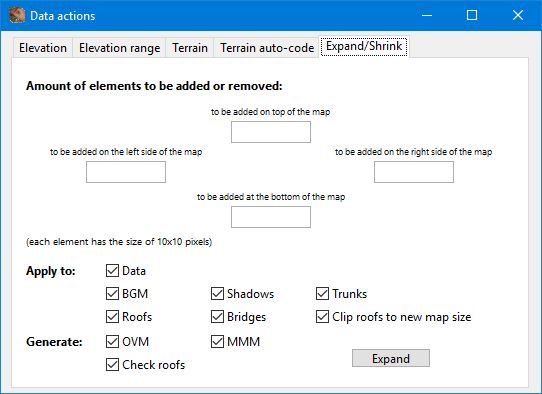
| Shrink.jpg | ||
| Description: |
|
|
| Filesize: | 32.11 KB | |
| Viewed: | 6091 Time(s) | |
 |
||
| Jatke wrote (View Post): |
| Easier use the Shrink feature in 5CC as the using the Visibility/Grid function on the original map lets you better visualize the final product. |
output generated using printer-friendly topic mod. All times are GMT