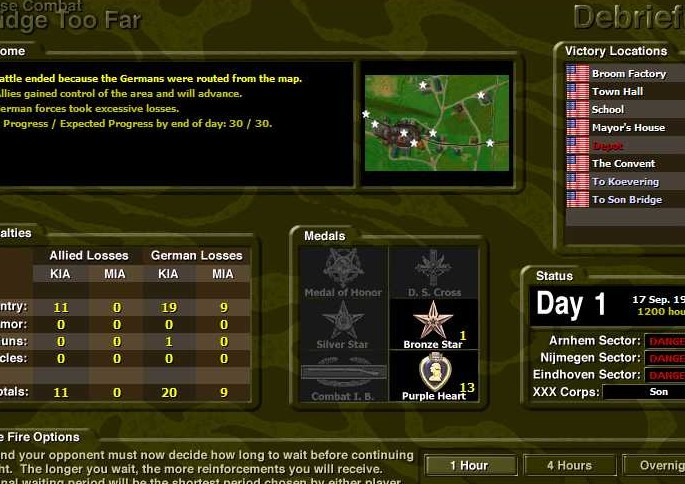
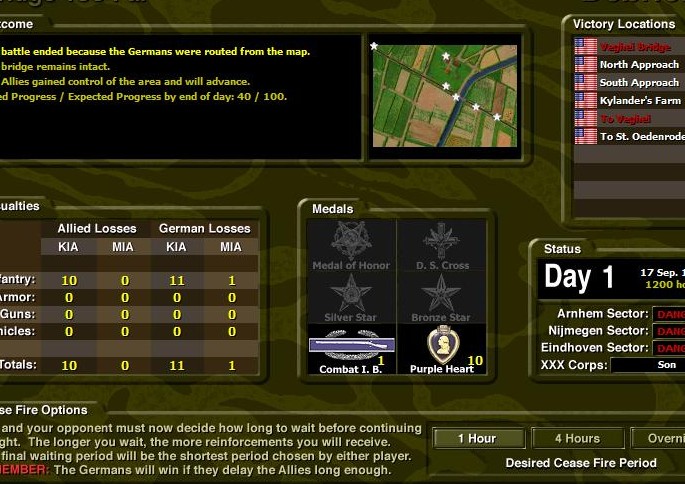
| 10 End of Battle.jpg | ||
| Description: |
|
|
| Filesize: | 115.5 KB | |
| Viewed: | 9332 Time(s) | |
 |
||
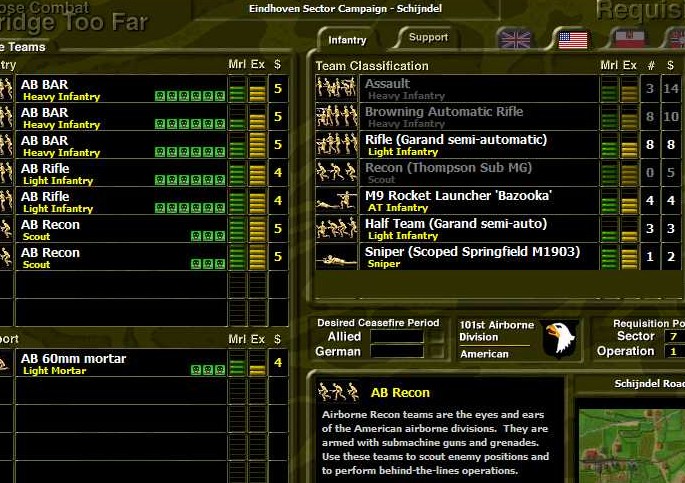
| OOB2.jpg | ||
| Description: |
|
|
| Filesize: | 138.05 KB | |
| Viewed: | 9314 Time(s) | |
 |
||
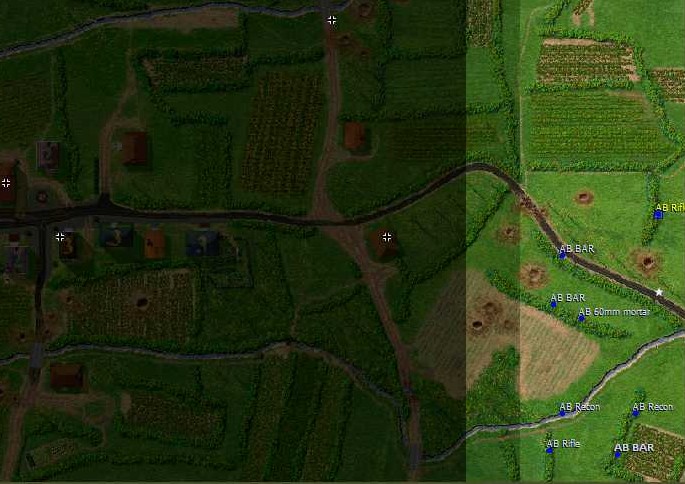
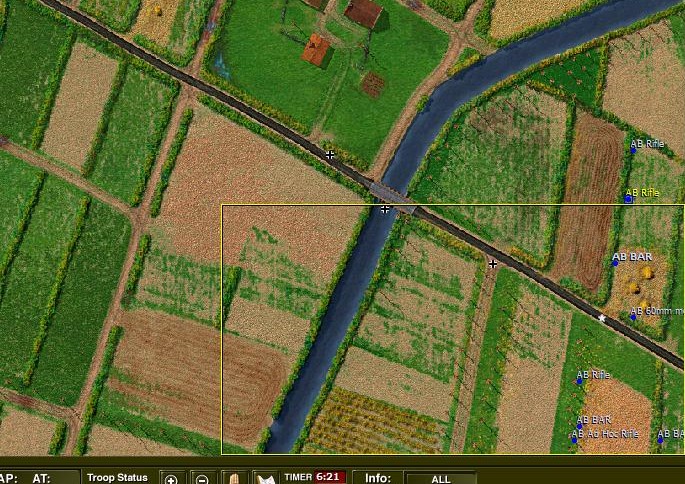
| 1 Start.jpg | ||
| Description: |
|
|
| Filesize: | 100.04 KB | |
| Viewed: | 9313 Time(s) | |
 |
||
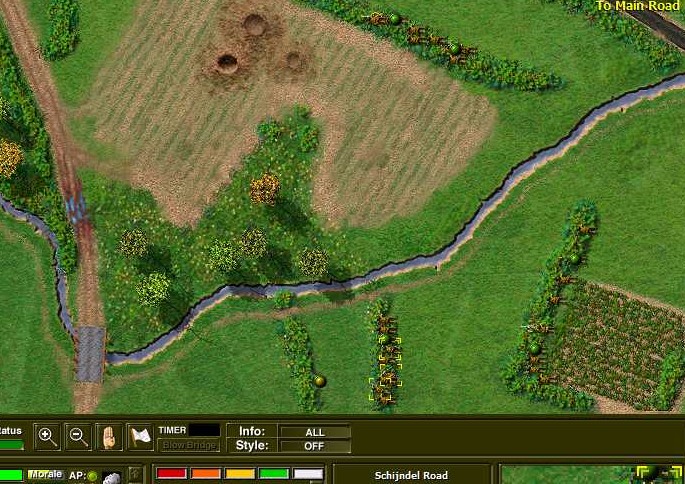
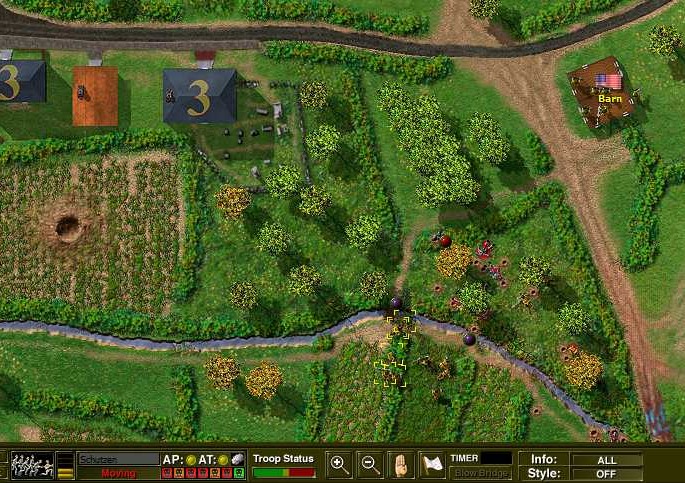
| 2 Recon Sneaking.jpg | ||
| Description: |
|
|
| Filesize: | 151.23 KB | |
| Viewed: | 9312 Time(s) | |
 |
||
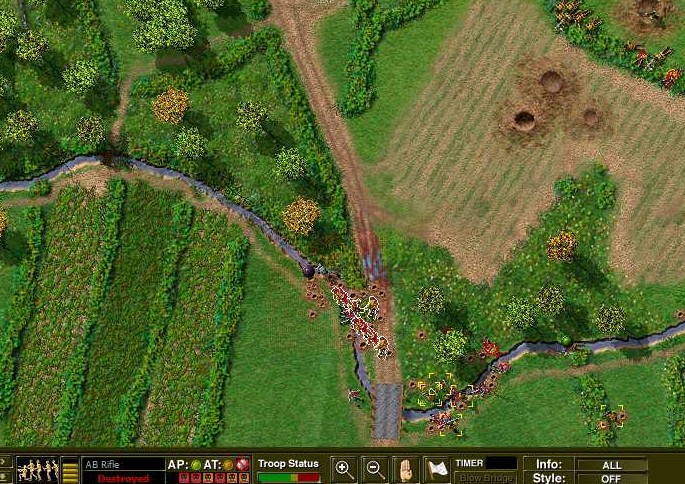
| 3 Contact & Firefight.jpg | ||
| Description: |
|
|
| Filesize: | 156.09 KB | |
| Viewed: | 9311 Time(s) | |
 |
||
| 4 Pour it on.jpg | ||
| Description: |
|
|
| Filesize: | 160.35 KB | |
| Viewed: | 9310 Time(s) | |
 |
||
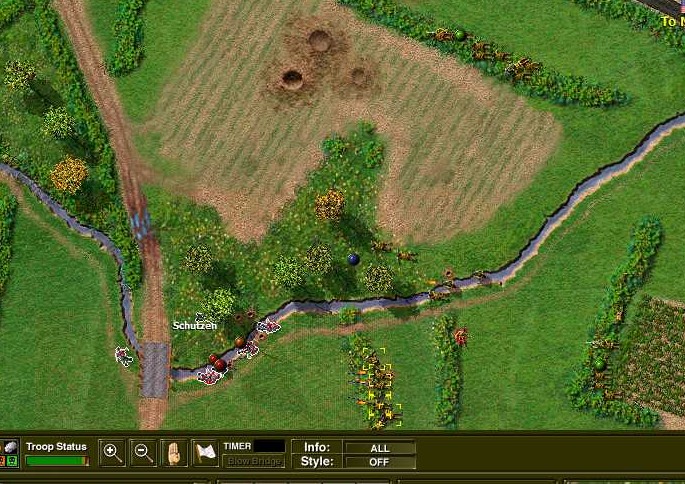
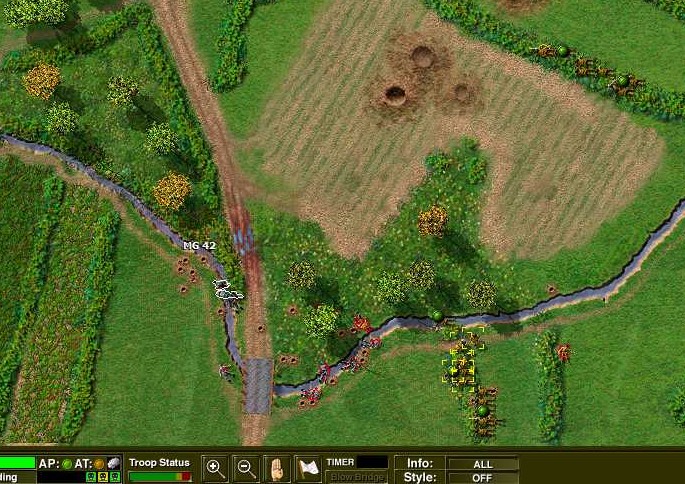
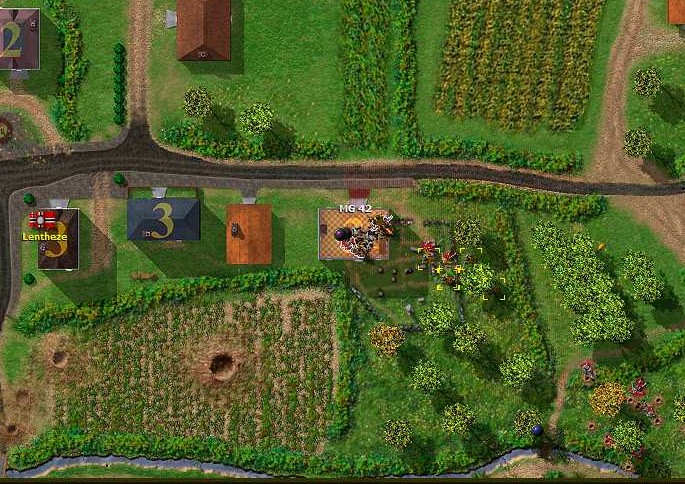
| 5 Nasty MG.jpg | ||
| Description: |
|
|
| Filesize: | 173.46 KB | |
| Viewed: | 9309 Time(s) | |
 |
||
| 7 Suppressed.jpg | ||
| Description: |
|
|
| Filesize: | 169.1 KB | |
| Viewed: | 9308 Time(s) | |
 |
||
| 9 Rushing the last MG.jpg | ||
| Description: |
|
|
| Filesize: | 167.63 KB | |
| Viewed: | 9304 Time(s) | |
 |
||
| 10 End of Battle.jpg | ||
| Description: |
|
|
| Filesize: | 112.26 KB | |
| Viewed: | 9333 Time(s) | |
 |
||
| OOB2.jpg | ||
| Description: |
|
|
| Filesize: | 135.24 KB | |
| Viewed: | 9322 Time(s) | |
 |
||
| 1 Start.jpg | ||
| Description: |
|
|
| Filesize: | 169.12 KB | |
| Viewed: | 9321 Time(s) | |
 |
||
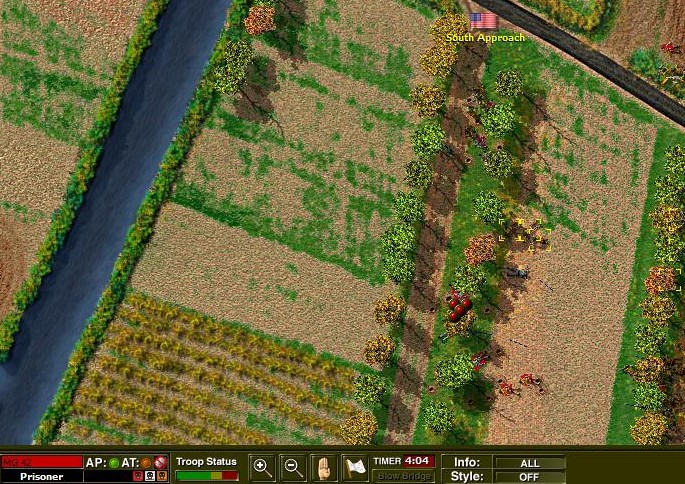
| 2 Enemy Surrender.jpg | ||
| Description: |
|
|
| Filesize: | 185.88 KB | |
| Viewed: | 9320 Time(s) | |
 |
||
| 3 End of Battle.jpg | ||
| Description: |
|
|
| Filesize: | 116.12 KB | |
| Viewed: | 9319 Time(s) | |
 |
||
| Ivan_Zaitzev wrote (View Post): |
| Nice AAR, brings back a lot of good memories. |
| 1 Setup.jpg | ||
| Description: |
|
|
| Filesize: | 144.98 KB | |
| Viewed: | 9163 Time(s) | |
 |
||
| 2 Flank Movt.jpg | ||
| Description: |
|
|
| Filesize: | 169.44 KB | |
| Viewed: | 9160 Time(s) | |
 |
||
output generated using printer-friendly topic mod. All times are GMT