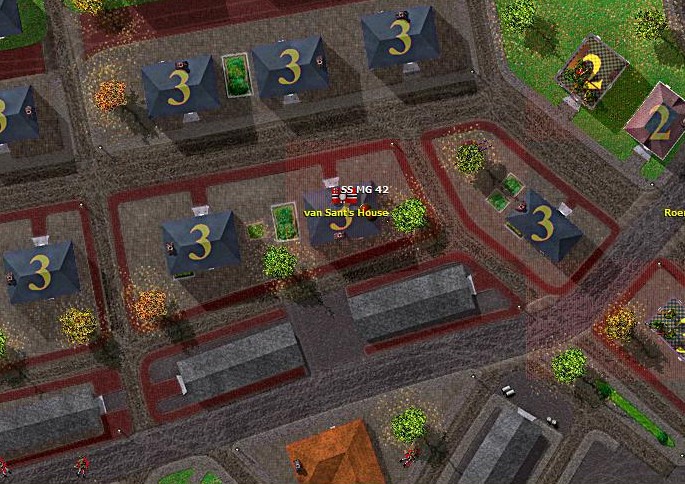
| 5 Flanking Neeter Haus.jpg | ||
| Description: |
|
|
| Filesize: | 150.18 KB | |
| Viewed: | 7003 Time(s) | |
 |
||
| 7 Stopping the enemy attack.jpg | ||
| Description: |
|
|
| Filesize: | 150.68 KB | |
| Viewed: | 7002 Time(s) | |
 |
||
| 8 Surrounded.jpg | ||
| Description: |
|
|
| Filesize: | 140.21 KB | |
| Viewed: | 7001 Time(s) | |
 |
||
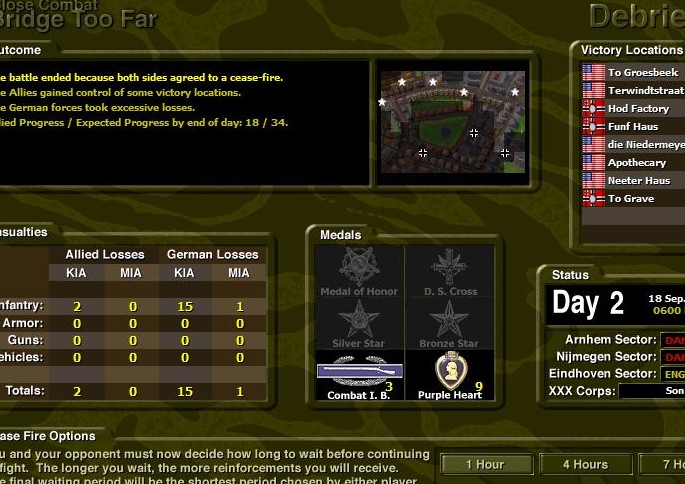
| 9 End of Battle.jpg | ||
| Description: |
|
|
| Filesize: | 114.2 KB | |
| Viewed: | 7000 Time(s) | |
 |
||
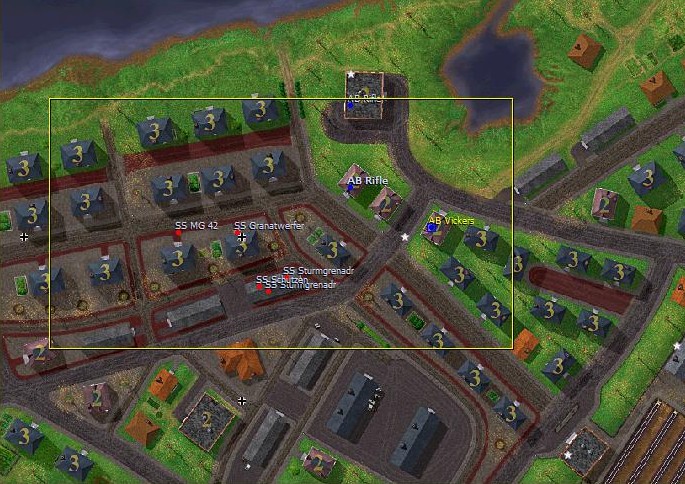
| 1 2nd Day.jpg | ||
| Description: |
|
|
| Filesize: | 127.43 KB | |
| Viewed: | 6998 Time(s) | |
 |
||
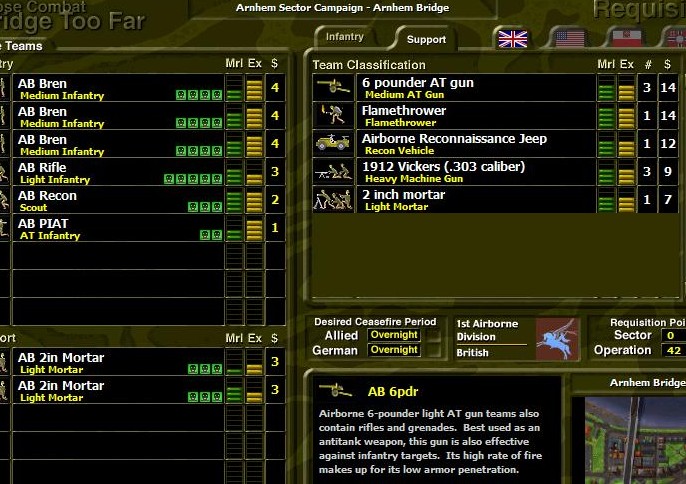
| OOB2.jpg | ||
| Description: |
|
|
| Filesize: | 98.88 KB | |
| Viewed: | 6987 Time(s) | |
 |
||
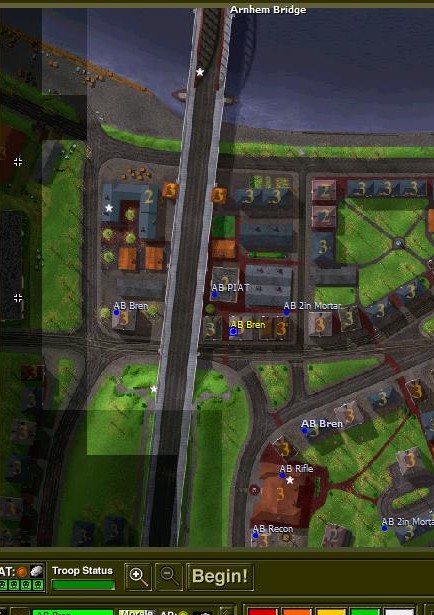
| 1 Start.jpg | ||
| Description: |
|
|
| Filesize: | 133.75 KB | |
| Viewed: | 6986 Time(s) | |
 |
||
| 2 Vickers dominating.jpg | ||
| Description: |
|
|
| Filesize: | 151.95 KB | |
| Viewed: | 6978 Time(s) | |
 |
||
| 3 Enemy Advancing.jpg | ||
| Description: |
|
|
| Filesize: | 149.18 KB | |
| Viewed: | 6977 Time(s) | |
 |
||
| 4 Command Rifle Contact.jpg | ||
| Description: |
|
|
| Filesize: | 149.04 KB | |
| Viewed: | 6977 Time(s) | |
 |
||
| 5 Pulling back.jpg | ||
| Description: |
|
|
| Filesize: | 154.72 KB | |
| Viewed: | 6976 Time(s) | |
 |
||
| 6 Enemy falters.jpg | ||
| Description: |
|
|
| Filesize: | 150.12 KB | |
| Viewed: | 6975 Time(s) | |
 |
||
| 7 End of Battle.jpg | ||
| Description: |
|
|
| Filesize: | 112.65 KB | |
| Viewed: | 6975 Time(s) | |
 |
||
| OOB1.jpg | ||
| Description: |
|
|
| Filesize: | 126.37 KB | |
| Viewed: | 6974 Time(s) | |
 |
||
| 1 Start.jpg | ||
| Description: |
|
|
| Filesize: | 91.14 KB | |
| Viewed: | 6963 Time(s) | |
 |
||
| 2 Mortars score HT!.jpg | ||
| Description: |
|
|
| Filesize: | 128.93 KB | |
| Viewed: | 6954 Time(s) | |
 |
||
| 3 PIAT scores AC!.jpg | ||
| Description: |
|
|
| Filesize: | 133.35 KB | |
| Viewed: | 6953 Time(s) | |
 |
||
| 4 Breaking the enemy assault.jpg | ||
| Description: |
|
|
| Filesize: | 137.44 KB | |
| Viewed: | 6952 Time(s) | |
 |
||
| 5 Counter attacking.jpg | ||
| Description: |
|
|
| Filesize: | 92.31 KB | |
| Viewed: | 6951 Time(s) | |
 |
||
output generated using printer-friendly topic mod. All times are GMT