| 3 Overwatching.jpg | ||
| Description: |
|
|
| Filesize: | 167.56 KB | |
| Viewed: | 9223 Time(s) | |
 |
||
| 5 Rushing.jpg | ||
| Description: |
|
|
| Filesize: | 164.28 KB | |
| Viewed: | 9220 Time(s) | |
 |
||
| 6 Contacted MG.jpg | ||
| Description: |
|
|
| Filesize: | 167.19 KB | |
| Viewed: | 9219 Time(s) | |
 |
||
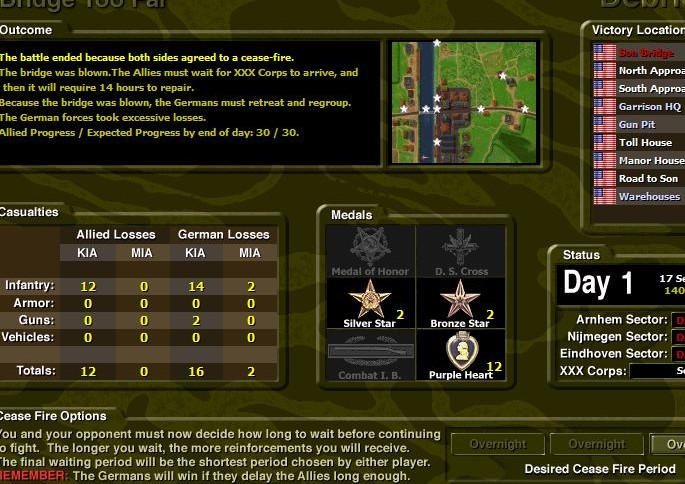
| 7 End of Battle.jpg | ||
| Description: |
|
|
| Filesize: | 118.57 KB | |
| Viewed: | 9218 Time(s) | |
 |
||
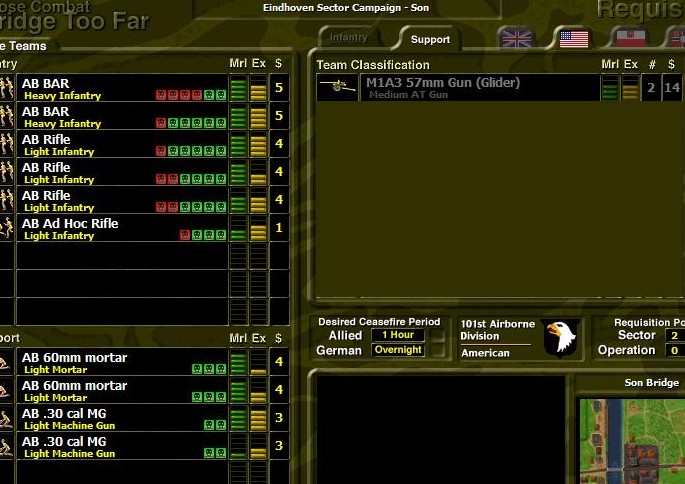
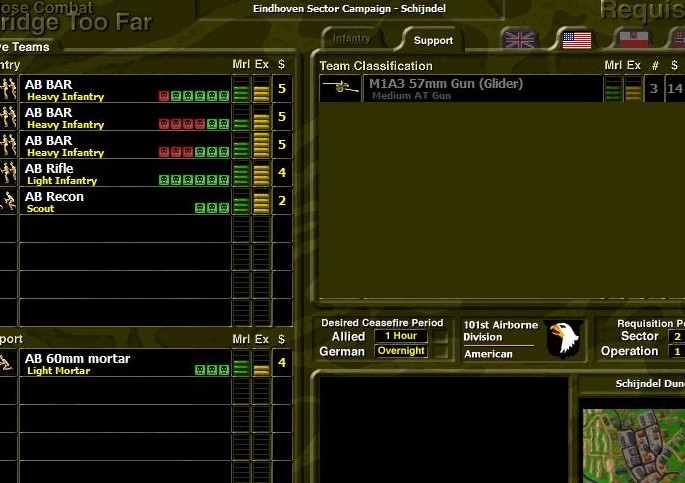
| OOB2.jpg | ||
| Description: |
|
|
| Filesize: | 103.56 KB | |
| Viewed: | 9157 Time(s) | |
 |
||
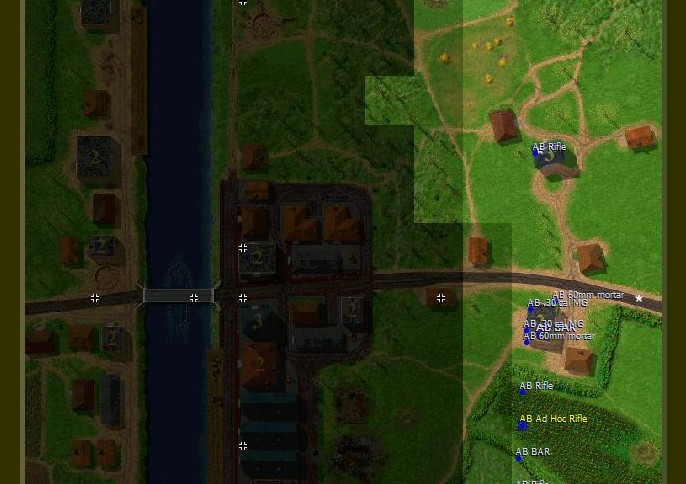
| 1 Start.jpg | ||
| Description: |
|
|
| Filesize: | 93.86 KB | |
| Viewed: | 9155 Time(s) | |
 |
||
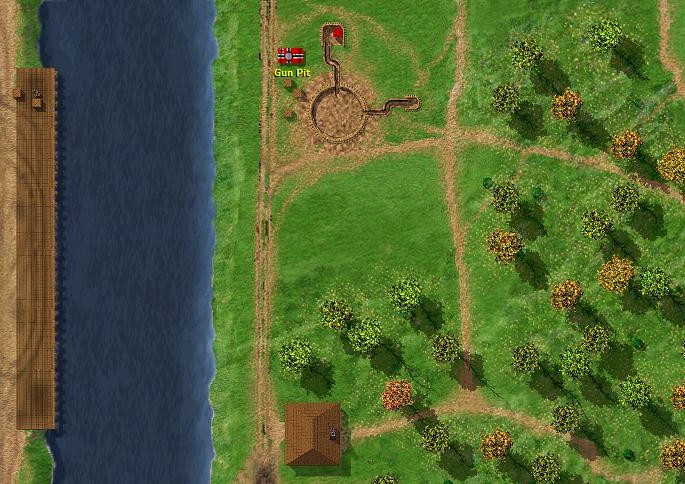
| 2 Gun Pit.jpg | ||
| Description: |
|
|
| Filesize: | 125.87 KB | |
| Viewed: | 9153 Time(s) | |
 |
||
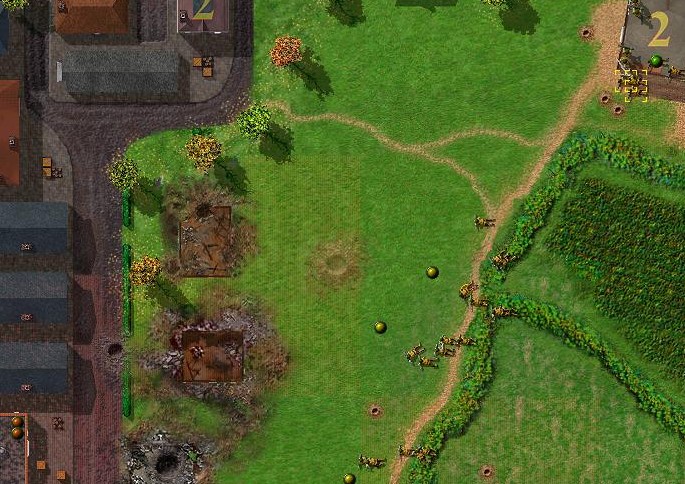
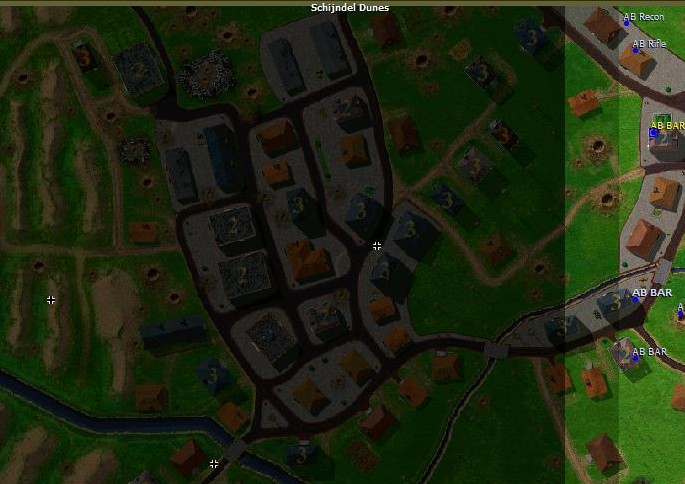
| 4 Approach.jpg | ||
| Description: |
|
|
| Filesize: | 144.49 KB | |
| Viewed: | 9152 Time(s) | |
 |
||
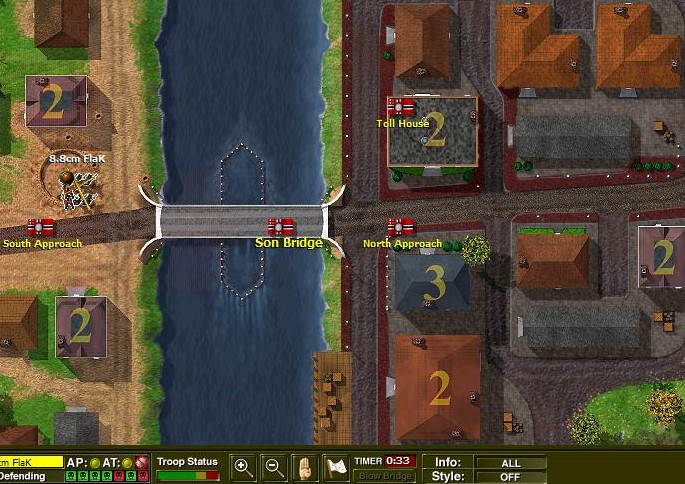
| 3 South Approach.jpg | ||
| Description: |
|
|
| Filesize: | 134.82 KB | |
| Viewed: | 9151 Time(s) | |
 |
||
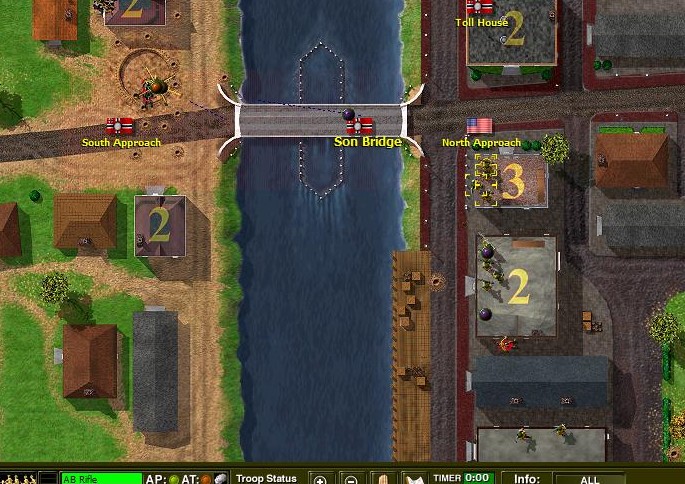
| 5 Rush the Bridge.jpg | ||
| Description: |
|
|
| Filesize: | 138.62 KB | |
| Viewed: | 9084 Time(s) | |
 |
||
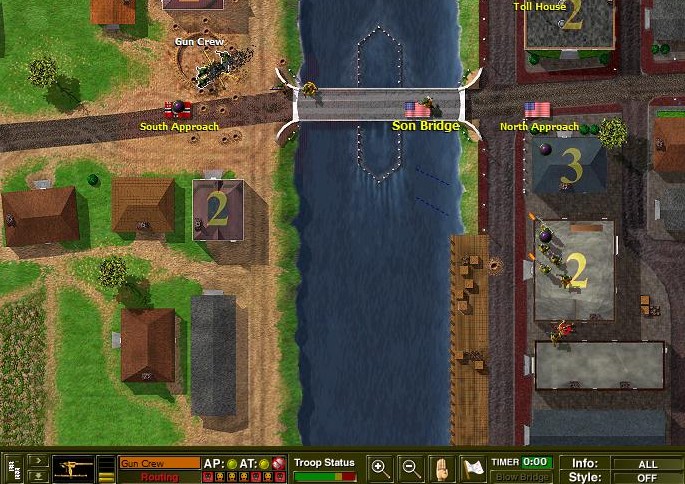
| 6 Bridge Captured.jpg | ||
| Description: |
|
|
| Filesize: | 139.82 KB | |
| Viewed: | 9083 Time(s) | |
 |
||
| 7 Bridge Blown.jpg | ||
| Description: |
|
|
| Filesize: | 128.25 KB | |
| Viewed: | 9081 Time(s) | |
 |
||
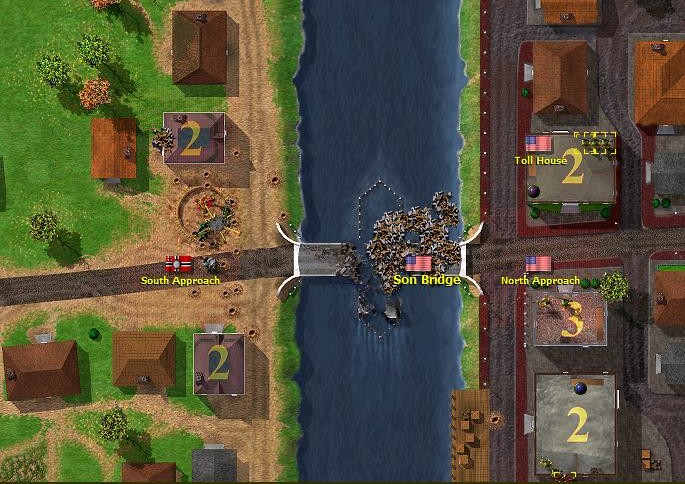
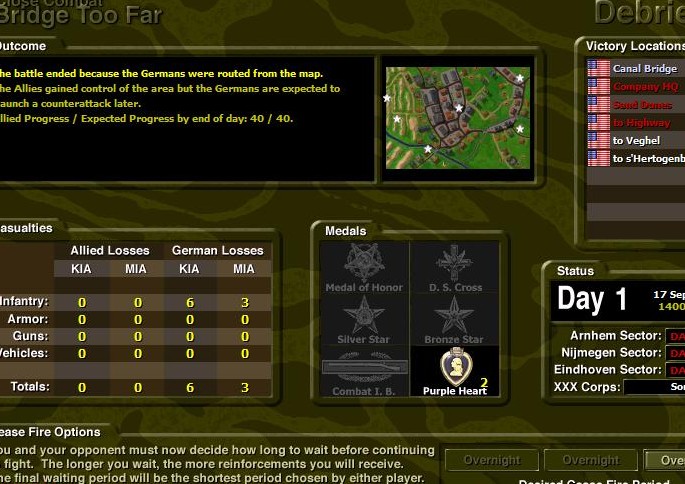
| 9 End of Battle.jpg | ||
| Description: |
|
|
| Filesize: | 122.94 KB | |
| Viewed: | 9078 Time(s) | |
 |
||
| OOB1.jpg | ||
| Description: |
|
|
| Filesize: | 92.13 KB | |
| Viewed: | 9062 Time(s) | |
 |
||
| 1 Start.jpg | ||
| Description: |
|
|
| Filesize: | 90.95 KB | |
| Viewed: | 9061 Time(s) | |
 |
||
| 2 Flanking.jpg | ||
| Description: |
|
|
| Filesize: | 146.1 KB | |
| Viewed: | 9059 Time(s) | |
 |
||
| 3 End of Battle.jpg | ||
| Description: |
|
|
| Filesize: | 113.97 KB | |
| Viewed: | 9057 Time(s) | |
 |
||
| OOB1.jpg | ||
| Description: |
|
|
| Filesize: | 132.66 KB | |
| Viewed: | 9042 Time(s) | |
 |
||
output generated using printer-friendly topic mod. All times are GMT